The C100’s AVCHD is a little odd – you may see ‘ghost interlace’ around strong colours in PsF video. AVCHD is 4:2:0 – the resolution of the colour is a quarter of the resolution of the base image. Normally, our eyes aren’t so bothered about this, and most of the time nobody’s going to notice. However, stronger colours found in scenes common to event videographers, and when ‘amplifying’ colours during grading, all draw attention to this artifact.
Note that this problem is completely separate from the ‘Malign PsF’ problem discussed in another post, but as the C100 is the only camera that generates this particular problem in its internal recordings, I suspect that this is where the issue lies. I’ve never seen this in Panasonic or Sony implementations of AVCHD.
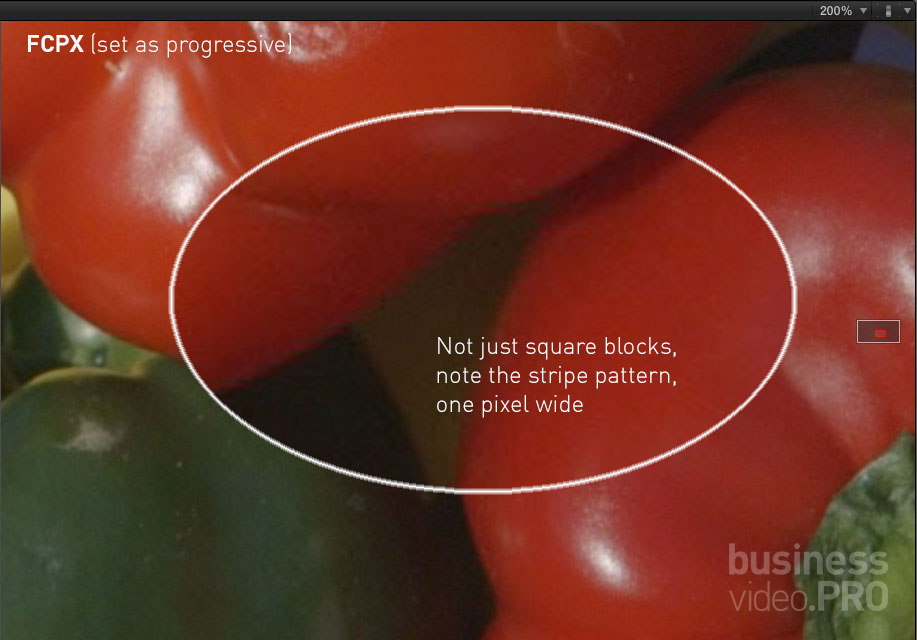
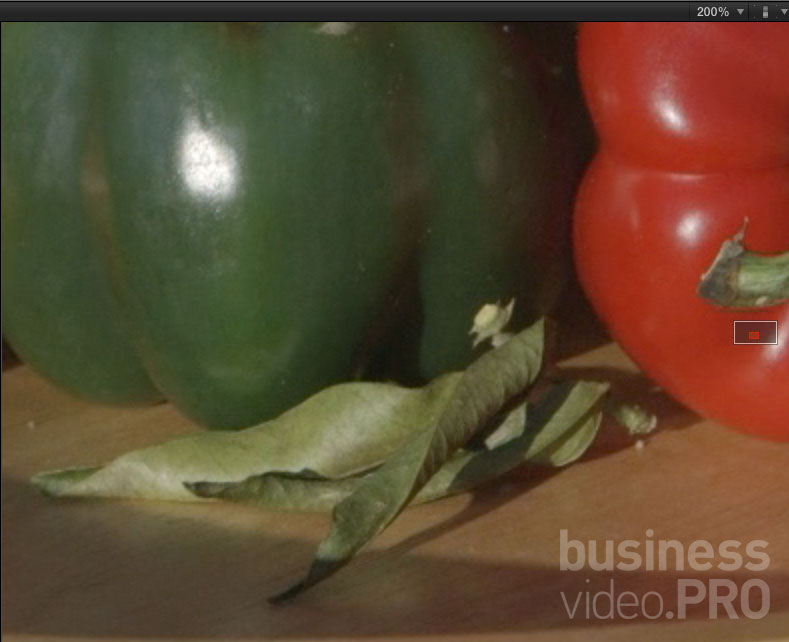
This is a 200% frame of some strongly coloured (but natural) objects, note the peculiar pattern along the diagonals – not quite stair-stepped as you might imagine.
Please click the images to view them at the correct size:

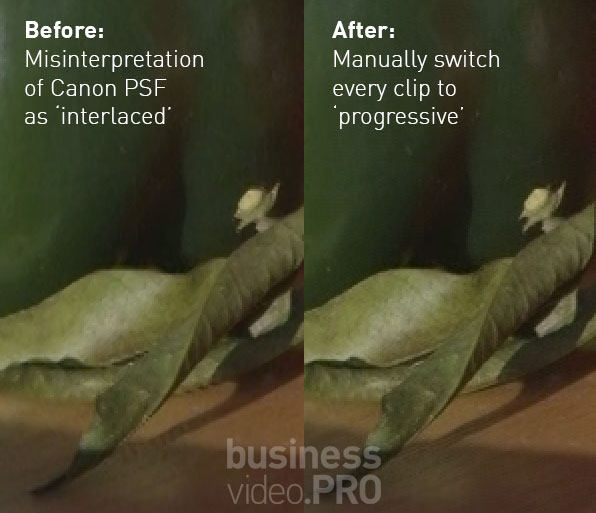
There are stripes at the edge of the red peppers, and their length denotes interframe movement. These artefacts illustrate that there’s some interlace going on even though the image is progressive.
Like ‘true’ interlacing artefacts, these stripey areas add extra ‘junk information’ which must be encoded and compressed when delivering video in web ready formats. These are wasting bitrate and robbing the image of crispness and detail. Reds are most affected, but these issues crop up in areas of strong chrominance including fabrics, graphics and stage/theatrical lighting.
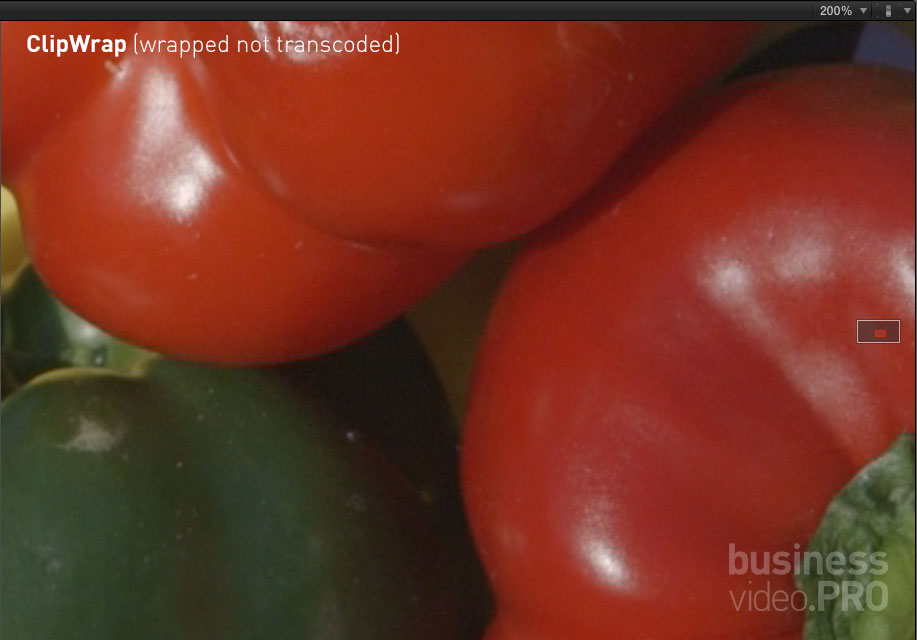
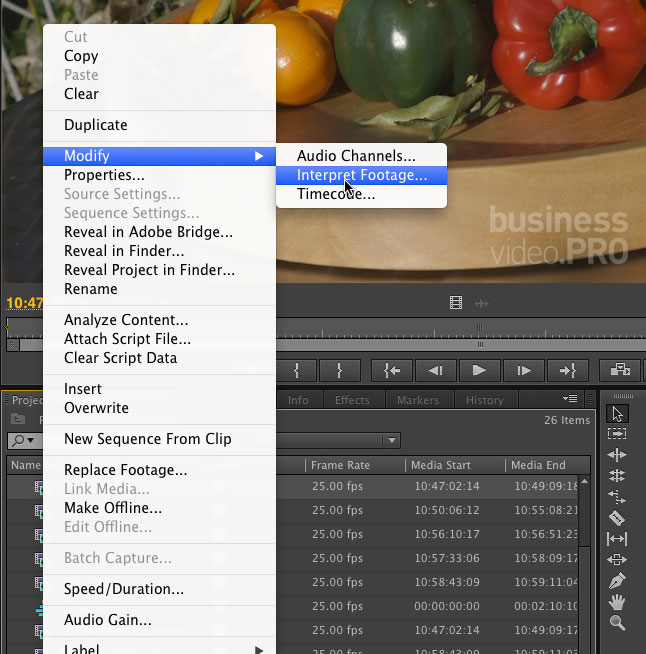
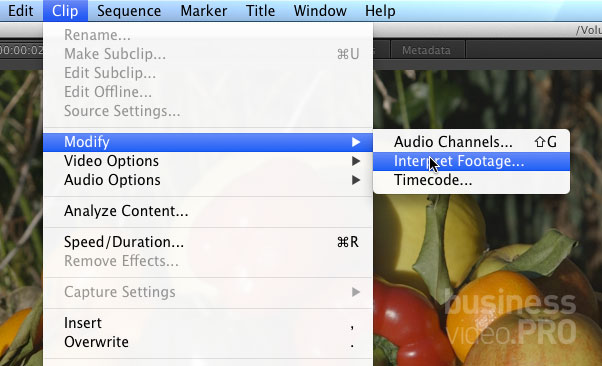
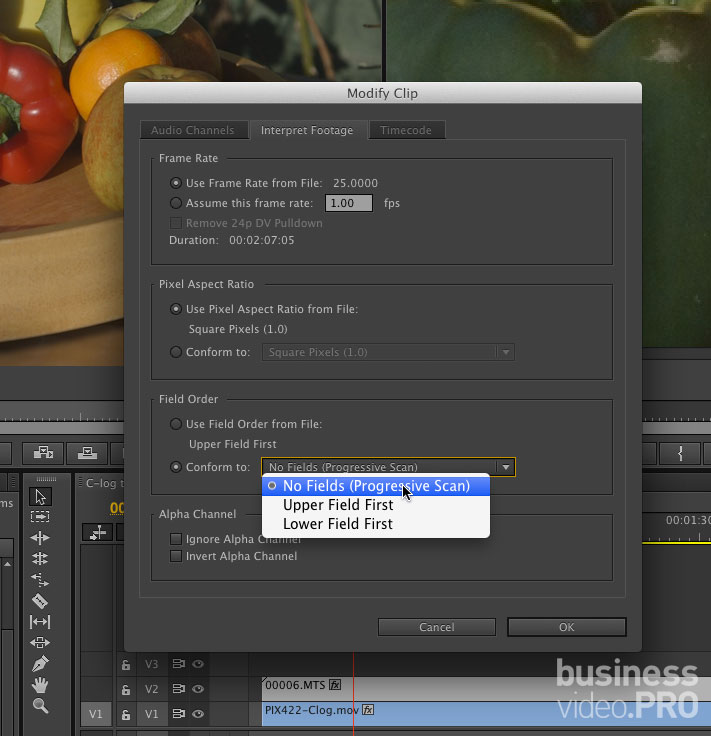
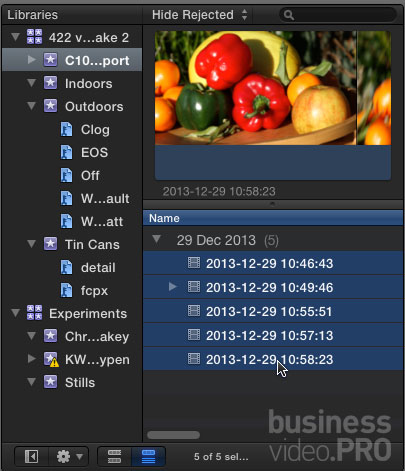
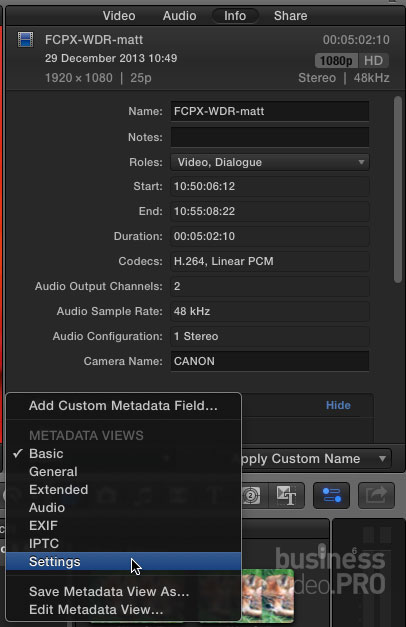
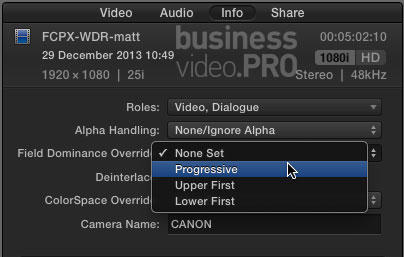
Some have pointed the finger of blame at edit software, specifically Final Cut Pro X. I wondered if it was the way FCPX imported the .MTS files, so I rewrapped them in ClipWrap from Divergent Media. In version 2.6.7, I’ve yet to experience the problems I experienced in earlier versions, but the actual results seem identical to FCPX:

For the sake of completeness, I took the footage through ClipWrap’s transcode process – still no change:

So the only benefit would be to older computers that don’t like handling AVCHD in its natural state.
To isolate the problem to the recording format rather than the camera, I also shot this scene on an external recorder using the Canon’s 4:2:2 HDMI output and in recorded in ProRes 422HQ. The colour information is far better, but note the extra noise in the image (the C100 includes noise reduction for its AVCHD recordings to help the efficiency of its encoding).

This is the kind of image one might expect from the Canon C300 which records 4:2:2 in-camera at 50 Mbits per second. Adding an external recorder such as the Atomos Ninja matches the C300’s quality. But let’s say you don’t have the option to use an external recorder – can the internal recordings be fixed?
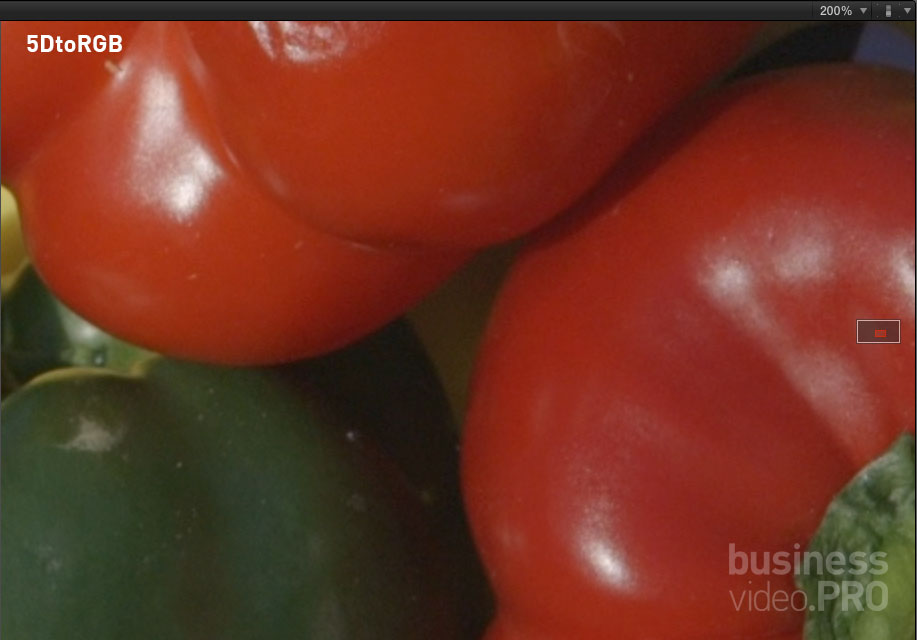
RareVision make 5DtoRGB – an application that post-processes footage recorded internally in the 4:2:0 based H.264 and AVCHD codecs, and goes one further step by ‘smoothing’ (not just blurring) the chroma to soften the blockiness. In doing so, it fixes the C100’s AVCHD chroma interlace problem:

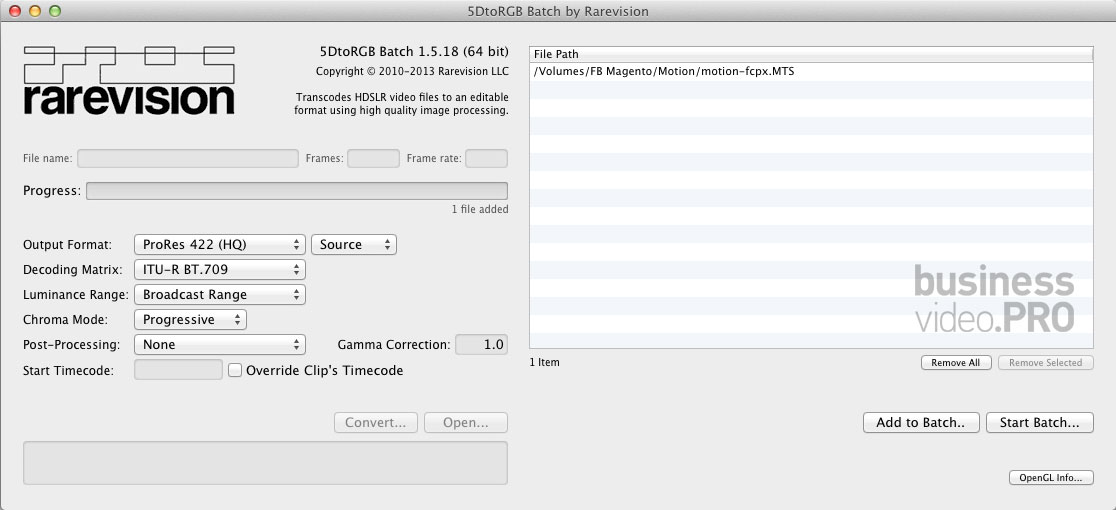
The results are a very acceptable midway point between the blocky (stripey) AVCHD and the better colour resolution of the ProResHQ. Here are the settings I use – I’ll do a separate guide to 5DtoRGB in a separate post.

The only key change is a switch from BT.601 to BT.709 (the former is for US Standard Definition, the latter is for all HD material, a new standard is available for 4K).
So why should you NOT process all your C100 rushes through 5DtoRGB?
It takes time. Processing a 37 second clip took 159 seconds (2 mins 39 seconds) on my i7 2.3 GHz MacBook Pro. Compare that with 83 seconds for ClipWrap to transcode, and only 6 seconds to rewrap (similar to Final Cut Pro’s import).
You will have to judge whether the benefits of shooting internally with the significant transcode time outweigh the cost of an external recorder and the inconvenience of using it. You may wish to follow my pattern for the majority of my non-chromakey, fast turnaround work, where I’ll shoot internally, and only when I encounter difficult situations, opt to transcode those files via 5DtoRGB.
I’ve also been investigating the use of a ‘denoiser’. It’s early days in my tests, but I’ve noticed that it masks the ‘interlaced chroma’ stripe pattern is effectively hidden:

This is not a panacea. Denoising is even more processor intensive – taking a long time to render. My early testing shows that you can under- and over-do it with unpleasant results, and that the finished result – assuming that you’re not correcting a fault, but preparing for a grade – doesn’t compress quite as well. It’s too slick, and therefore perversely needs some film grain on top. But that’s another post.

 UPDATE: 2:2 PULLDOWN FIXED IN AtomOS 5.1.1…